Turn your changelog into a release video — Remotion vs the 5-minute way
Your release notes deserve more reach than a text post. Two honest ways to turn a changelog into a video: build it in Remotion, or click through it in DevReel.
You shipped. The changelog is written. And now the release announcement goes out as… a text post with a screenshot, which the feed algorithm quietly buries. Video posts consistently earn more reach on X and LinkedIn than static images — and for a developer audience, a release video that shows the new API in motion is the difference between "seen" and "scrolled past".
There are two honest ways to get that video as a developer: write it as code with Remotion, or assemble it in an editor built for exactly this. Here is what each path actually costs.
The shape of a good release video
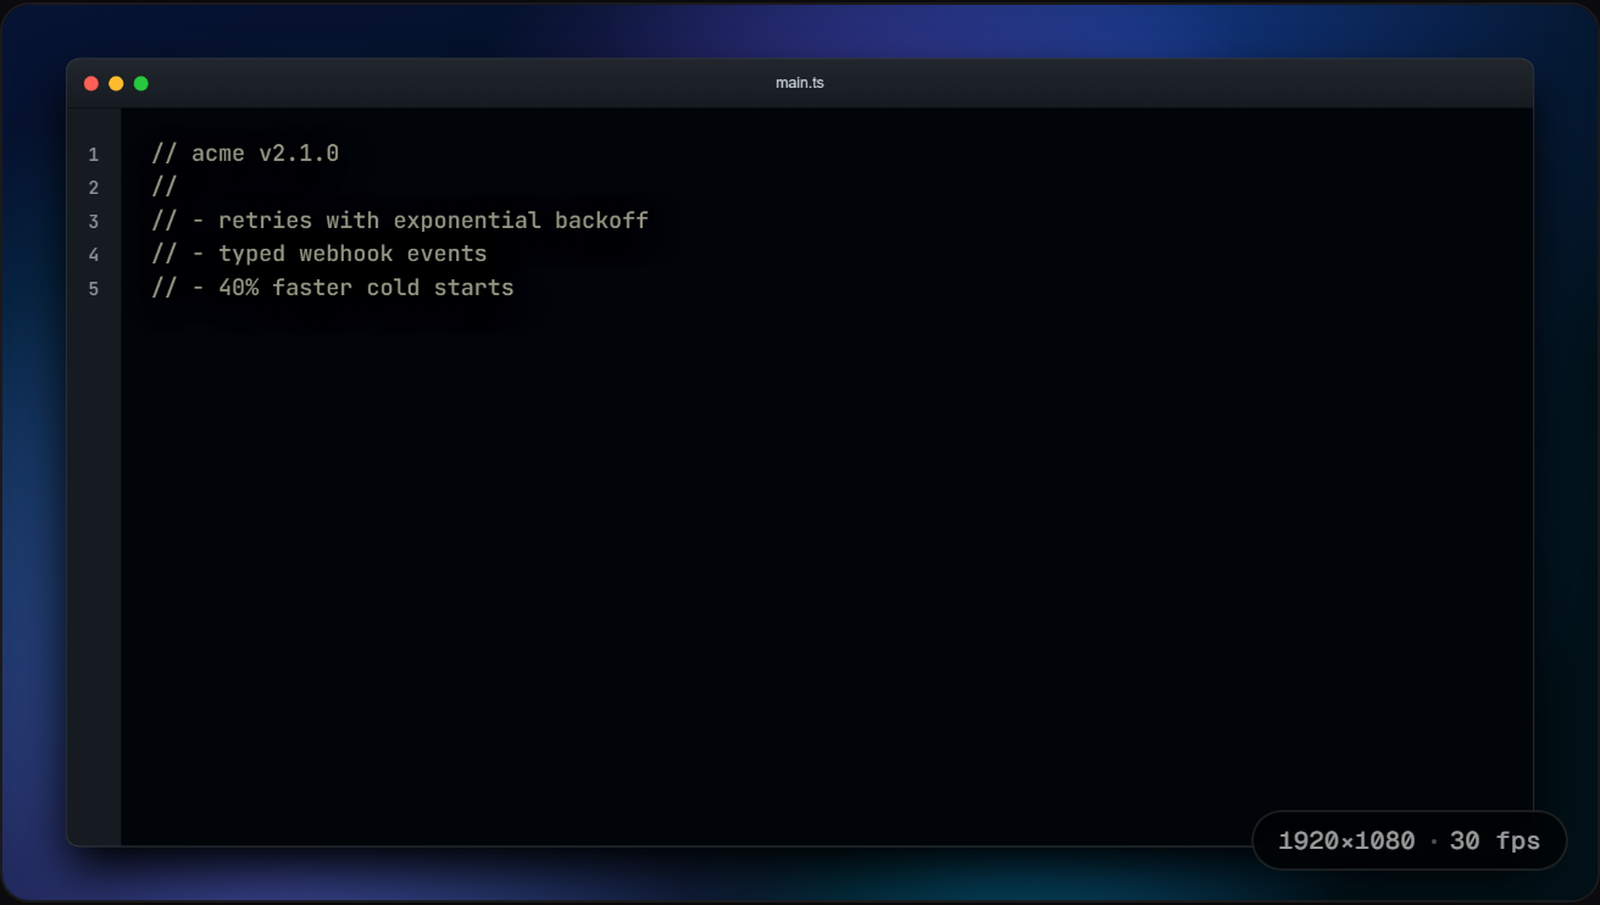
- A version card: number plus the three changes people care about (2–3 seconds).
- The new API in motion: code morphing from the old call to the new one (3–4 seconds).
- The upgrade command typing itself out in a terminal (2–3 seconds).
That's it. Eight to ten seconds. Anything longer and you've made a tutorial, not an announcement.
Path 1: Remotion
Remotion is a genuinely excellent React framework for programmatic video. If you want full control, it gives you all of it — because the video is a React codebase you own. A minimal release-video composition looks like this:
import { Composition, useCurrentFrame, interpolate } from "remotion";

const VersionCard = () => {
  const frame = useCurrentFrame();
  const opacity = interpolate(frame, [0, 20], [0, 1]);
  return (
    <div style={{ opacity, fontFamily: "JetBrains Mono" }}>
      <h1>v2.1.0</h1>
      <ul>
        <li>retries with exponential backoff</li>
        <li>typed webhook events</li>
      </ul>
    </div>
  );
};

// ...a CodeFrame component with your own syntax highlighter,
// a Terminal component with your own typing animation,
// a <Composition> wiring them to a timeline...

export const RemotionRoot = () => (
  <Composition id="release" component={ReleaseVideo}
    durationInFrames={270} fps={30} width={1920} height={1080} />
);
Then npm i remotion, a project to maintain, a syntax-highlighting component you write yourself, a typing animation you write yourself, and npx remotion render (or Remotion Lambda, plus a company license once your team is over three people). For a team that ships video features, that investment makes sense. For a release announcement every two weeks, it usually doesn't.
Path 2: the 5-minute way
- 1Open the DevReel editor and pick the "Release notes" template — it loads the three-frame structure above with morph and typing transitions already wired.
- 2Replace the sample version card and API snippet with your changelog's content. The code morph animates the diff automatically — no keyframes.
- 3Swap the accent colors to your brand in the Canvas tab (two clicks).
- 4Export: free MP4 in your browser for X, or a vertical crop for Shorts. No watermark.
When to pick which
- Pick Remotion when the video IS the product — data-driven personalization, custom motion design, video features inside your app.
- Pick DevReel when you need the video to exist and get back to shipping — releases, changelogs, feature demos.
- Same browser rendering technology underneath. The difference is whether you want a codebase or a result.
Free browser export, no watermark, no account needed.